Instrument Exploration: How the Pipe Organ Works (Part Two)
Age Range: Elementary, Middle School; Grades K-8
Learning Objective: Students will learn about how sound is produced on a pipe organ.
Note to Teachers: This is the second of a three-part video series featuring the pipe organ. The first lesson is an introduction to the instrument. This video explores how sound is produced, and lesson three explores Composers and the Organ.
Total Video Time: 4:24
Total Lesson Time: Approximately 25 minutes
INTRODUCE how sound is made on the organ
Today, we’ll learn about how sound is made on the pipe organ. How do you think sound is made on this instrument?
Watch the Class Notes video, How the Pipe Organ Works.
REVIEW how sound is made on the organ
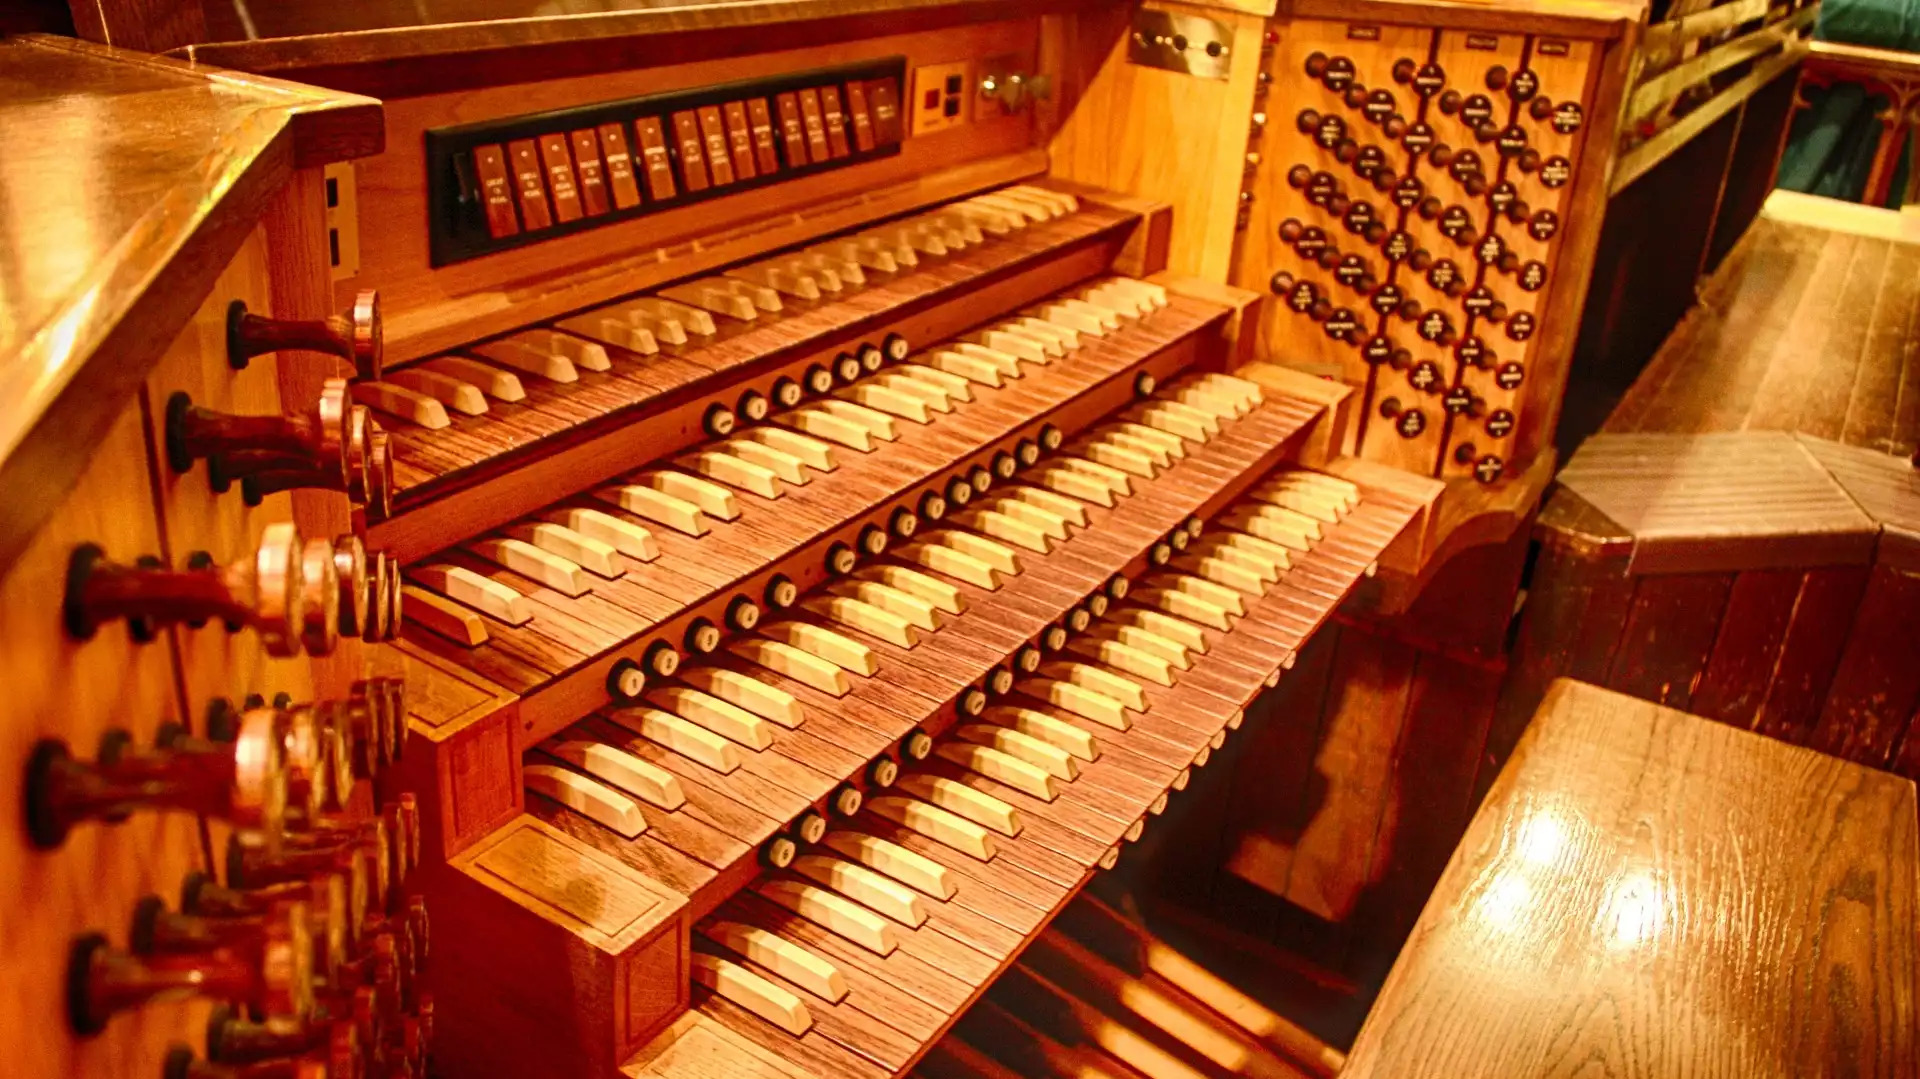
Play a game of Name that Pipe Organ Part using the included visuals. (For younger learners, consider just reviewing the parts as opposed to a quiz.)
Use the following review questions for journaling or discussion. Younger learners may not retain the information after one view, so you might skip this activity with them.
In the pipe organ you saw and heard in the video, how is the wind in the wind system generated? (a motor)
How is wind let out of the pipes? (by pressing a key or many keys)
Besides keys, what else can activate pipes? (foot pedals)
Fill in the blank: the greater the length of the pipe, the ____ the pitch. (lower)
What are groupings of pipes called? (ranks)
What do stops do? (change the timbre (TAM-ber) of the note)
What are three words you would use to describe the organ?
PLAY A GAME making sounds like an organ
Play a game of Sound Machine.
Remind students that the pipe organ is like a machine, made of many parts that work together.
Ask students to brainstorm a sound effects with their mouth or hands (body percussion) that sound like a machine.
Instruct students to pick their favorite sound.
Starting from silence, turn each machine part (student) “on” by tapping the student until all machine parts are going.
See if the class can start to fit their sounds together.
Eventually start turning parts “off” (tap students again) until it is silent once again.
Note: This game tends to get silly! Depending on your teaching style, you can let it be a silly game or encourage the students to stay focused on their sound even when it gets noisy.
Learn more in the third video lesson of the series, Composers and the Organ.
Special thanks to Phil Asgian and the Twin Cities Chapter of the American Guild of Organists and Michael Barone, host of Pipedreams, for help and support with this lesson.
Related Lesson Plans


YourClassical is a public media organization and your support makes it possible.
This activity is made possible in part by the Minnesota Legacy Amendment’s Arts & Cultural Heritage Fund.