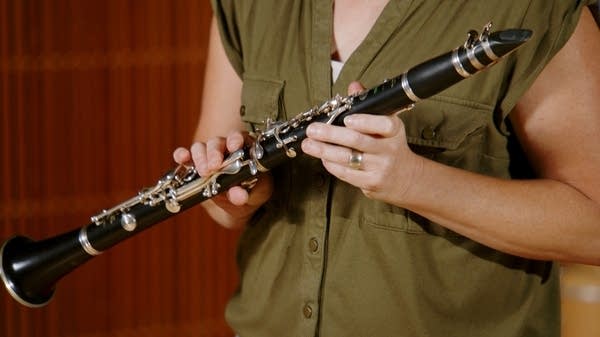
Beginning Band: How to Care for the Clarinet

Age Range: Late Elementary, Middle School
Learning Objective: Students will demonstrate proper care and technique when assembling their instrument and putting it away.
Total Video Time: 6:59
INTRODUCTION
Clarinetist Rena Kraut will walk you through the basics of putting together your clarinet and taking care of it.
STEP-BY-STEP instructions
Put the reed in your mouth to get it wet.
Start by picking up the bell with one hand.
Pick up the bottom joint (the biggest piece) next with your other hand and screw them together by turning and pushing at the same time.
Hold this section by the bell and pick up the top joint. Open the bridge key on the top joint and screw it into the bottom joint so they are lined up properly.
Hold the clarinet by the top joint and add the barrel.
If any piece does not slide on easily, apply cork grease as needed.
Screw in the mouthpiece so the open part is lined up with the long key on the top joint.
Hold the reed at the thick bottom part and fit it to the top of your mouthpiece.
Carefully fit the ligature over the reed and screw it on. The screws should be on the right side.
After practicing, protect the reed by putting it back in its case before packing up the rest of the clarinet. Put away the mouthpiece.
Swab the clarinet to keep it dry inside before taking it apart.
Disassemble the clarinet in reverse order and put each piece away. Remember to open the bridge key of the top joint to remove it from the bottom joint.
Print this and keep it in your case or band folder!

YourClassical is a public media organization and your support makes it possible.

This activity is made possible in part by the Minnesota Legacy Amendment’s Arts & Cultural Heritage Fund.


