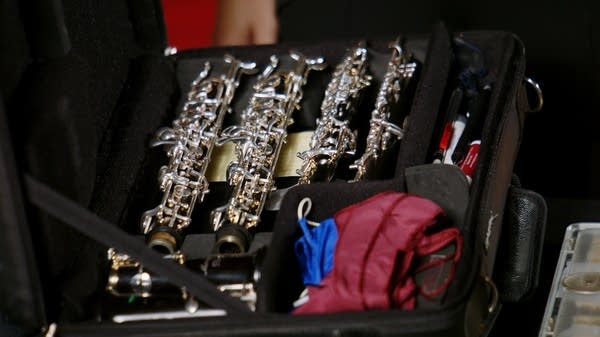
Beginning Band: How to Care for the Oboe

Age Range: Late Elementary, Middle School
Learning Objective: Students will demonstrate proper care and technique when assembling their instrument and putting it away.
Total Video Time: 2:54
INTRODUCTION
Oboe player Sarah Boyle Carmack will walk you through the basics of putting together your oboe and taking care of it.
STEP-BY-STEP instructions
Soak your reed in a small cup while you put your oboe together.
Take out the bell and the bottom joint and twist them together. Line up the keys so nothing bends or breaks.
Next, put on the top joint.
Check to see if your reed is soaked enough to play. This typically takes a couple minutes. Make a “crow” (reed sound) to make sure the reed is ready.
Fit the reed into the top joint, and you’re ready to play.
After practicing, carefully put away your reed.
Swap the instrument before taking it apart.
Disassemble the oboe in reverse order and put each piece away.
Make sure you have at least 2 reeds in case one stops working!
Print this and keep it in your case or band folder!

YourClassical is a public media organization and your support makes it possible.

This activity is made possible in part by the Minnesota Legacy Amendment’s Arts & Cultural Heritage Fund.


