Beginning Band: How to Care for the Flute

Age Range: Late Elementary, Middle School
Learning Objective: Students will demonstrate proper care and technique when assembling their instrument and putting it away.
Total Video Time: 3:51
INTRODUCTION
Flute player Bethany Summersgill will walk you through the basics of putting together your flute and taking care of it.
STEP-BY-STEP instructions
Pick up the collar (top of the body joint) with your left hand.
Pick up the head joint with your left.
Line them up carefully and twist them together.
Line up the middle of the hole with the right-hand keys.
Hold the collar again with your left hand and grab the foot joint with your right hand.
Twist the pieces together, lining up the rod of the foot joint with the keys of the body joint.
Hold the flute securely with the keys facing up when you aren’t playing.
Never leave your flute on a music stand!
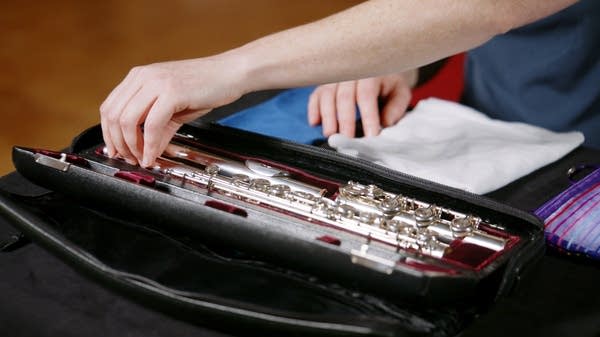
Take the flute apart in reverse assembly order and return the parts to the case. The rods should face towards the outside of the case, and the lip plate should be near the inside of the case.
Clean the flute after playing using a cleaning cloth for the inside, and a polishing cloth for the outside. Keep these cloths in a separate place so they can dry out.
Thread the cleaning cloth through your cleaning rod and wrap the cloth over the rod. Clean each part.
Polish the lip plate with your polishing cloth and polish the rest of the flute as needed. Avoid getting too close to the key pads and delicate areas around the rods.
Print this and keep it in your case or band folder!

YourClassical is a public media organization and your support makes it possible.

This activity is made possible in part by the Minnesota Legacy Amendment’s Arts & Cultural Heritage Fund.


